
The colour is the part everyone notices, but staining is not simply a matter of choosing a sample and applying it. The condition of the wood, its species, previous finishes, repair work, sanding sequence and protective topcoat all affect the final appearance. A good result looks intentional across the whole floor and remains practical for the way the property is used.
What hardwood floor staining can achieve
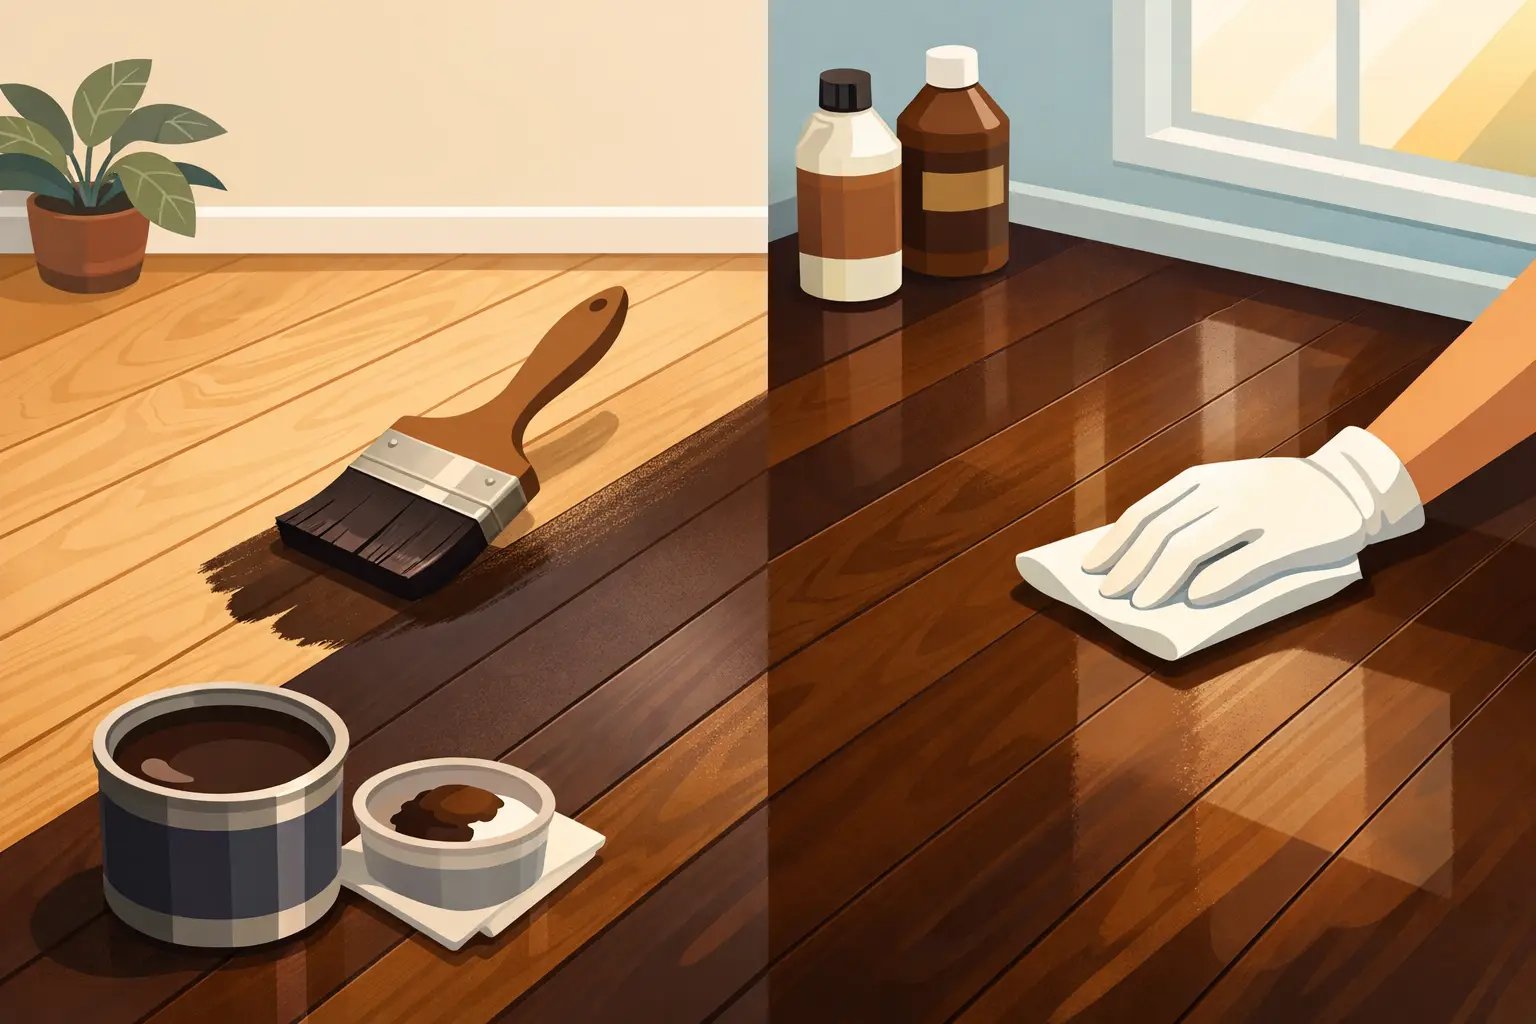
Stain changes the tone of bare wood without hiding its grain completely. It can deepen pale oak, reduce the visual impact of yellowed or red undertones, bring separate rooms closer together, or give a restored period floor a more current look. For homeowners preparing to sell, a well-chosen colour can make worn flooring look considered rather than tired. For a buyer renovating an older Bay Area home, it can help original boards sit comfortably alongside a new kitchen, paint scheme or joinery.
The best stain does not always create the darkest or most dramatic sample. Wood is variable by nature. Boards take pigment differently according to grain direction, density, age and prior exposure to sunlight. The aim is a balanced, attractive floor with enough depth to suit the home, not a colour that masks every natural variation.
Staining can also be useful after repairs. Replacement boards, patches from old heating vents or repaired water-damaged areas may need careful colour work to blend with the surrounding floor. Complete invisibility is not always realistic, especially on old timber, but skilled sanding, stain selection and finishing can substantially reduce the contrast.
Start with the floor, not the colour chart
Before selecting a shade, the floor needs a proper assessment. Solid hardwood can usually be sanded and refinished several times over its life, provided there is adequate wear layer remaining and no major structural issue. Engineered flooring requires greater caution. Some engineered boards have a thick enough hardwood veneer for a light refinish, while others cannot safely tolerate sanding. The specification, existing condition and flatness of the installation matter.
Moisture damage must be addressed before cosmetic work begins. Cupped boards, black water marks, lifting edges and gaps that change with the seasons may point to a plumbing leak, slab moisture or poor ventilation. Sanding a damp or unstable floor can make the problem look better briefly, then leave the finish vulnerable to failure. Likewise, termite damage and loose boards require repair before staining starts.
Previous treatments deserve attention too. Wax, silicone-based cleaners, old oils and some site-applied finishes can interfere with stain absorption or adhesion. A contractor may need to sand beyond the visible finish, test a small area, or recommend a different colouring method where contamination or uneven absorption is likely.
Sanding determines whether the stain looks even
Most staining problems begin before the stain is opened. If the floor is sanded unevenly, the pigment will expose every inconsistency. Swirl marks, edge marks, missed areas and changes in abrasive grit can create dark patches or stripes that are difficult to correct once colour has penetrated the timber.
A professional sanding process gradually removes the old finish and levels the surface while respecting the thickness of the boards. Edges, corners and around radiators or stair details need the same care as the open field of the room. Dust-controlled equipment makes a significant difference to disruption in an occupied home, but it also supports a cleaner staining environment. Fine dust left in cracks, along skirting boards or on the surface can affect both colour and finish quality.
The final sanding grit is particularly important. A surface left too coarse may absorb stain aggressively and look blotchy. One sanded too fine may resist pigment and appear lighter than expected. This is why a flooring specialist should make the sanding and staining decisions as one connected process rather than treating stain as a separate decorative step.
Choosing a colour that works in the real home
Test samples on the actual floor whenever possible. A showroom board or online image cannot account for the species in your home, the amount of daylight in the room or the undertones already present in the timber. Samples should include the proposed clear protective finish, because a water-based or oil-based topcoat can shift the apparent warmth and depth of the stain.
Natural and light brown shades often show the grain clearly and make smaller rooms feel more open. They are also forgiving when the floor receives regular sunlight. Mid-tones can add warmth and suit traditional homes without making rooms feel heavy. Dark brown and near-black finishes offer a strong visual statement, but they tend to show dust, scratches, pet hair and footprint marks more readily. They can also make uneven repair areas more noticeable if colour absorption varies.
Grey stains remain popular in some interiors, although they require a careful approach on red oak and older mixed-species floors. Without the right preparation, a cool grey can pull blue, green or muddy tones from the timber. A custom blend may produce a more convincing result than a standard off-the-shelf colour. The right choice depends on the floor, surrounding materials and how much maintenance the household is willing to accept.
Stain and finish are different decisions
Stain provides colour. The finish protects the stained timber from everyday wear, spills and cleaning. Both need to work together.
Water-based finishes generally dry quickly, keep the colour clearer and release less odour than many traditional systems. They are often a practical choice for occupied properties where timing matters. Oil-based finishes can add a warmer amber tone and are valued for their depth, but they normally take longer to dry and cure. Site conditions, ventilation, household schedules and the selected colour all influence the right system.
Sheen is another practical choice. A gloss finish reflects more light but can highlight scratches and surface imperfections. Satin remains a popular middle ground, while matt or low-sheen finishes can give timber a more natural, contemporary appearance and reduce the visibility of minor marks. Low sheen does not mean low protection. Durability depends on the product system, correct application and adequate curing time.
Do not rush furniture back onto a newly finished floor. Dry-to-touch is not the same as fully cured. Heavy furniture, rugs and active pets can mark a finish before it reaches its intended hardness. Your contractor should provide clear guidance on ventilation, socks versus shoes, furniture pads and the timing for normal use.
When staining is not the right answer
There are cases where staining should be delayed or avoided. A floor with widespread movement from moisture, severe board damage or insufficient thickness needs repair, replacement or a different restoration plan first. Very old floors with numerous species, filler repairs and sun bleaching may accept a stain unevenly. In these situations, a clear finish, a lighter tint or selective board replacement may produce a more honest and durable result than forcing a uniform dark colour.
Homeowners should also be cautious about choosing a stain solely to follow a short-lived trend. Hardwood is a long-term asset. A colour that complements the property’s natural light, architecture and furnishings is more likely to remain satisfying over time than one selected from a single small sample.
A professional process protects the investment
Good hardwood floor staining is a sequence of skilled decisions: assess the timber, correct underlying defects, sand consistently, create samples, apply colour evenly and protect it with a compatible finish. Each stage affects the next. Cutting corners at the assessment or sanding stage can turn an attractive colour choice into an expensive correction.
National Floors brings C-15 hardwood-floor specialist licensing and NWFA-informed practices to refinishing projects across the Bay Area, with the practical experience to identify when a floor can be transformed and when it needs additional repair first. For homeowners, landlords and property managers, an in-home assessment is the sensible place to begin. The most successful stained floor is not the one that follows a trend most closely, but the one that suits the timber and continues to look good after real life happens on it.
