
For Bay Area homeowners, this distinction matters. Original solid hardwood flooring can be a valuable part of a home, and most scratched floors do not need to be replaced. The appropriate repair depends on the depth and extent of the scratches, the existing finish, wood species, stain color and whether the floor is solid or engineered hardwood.
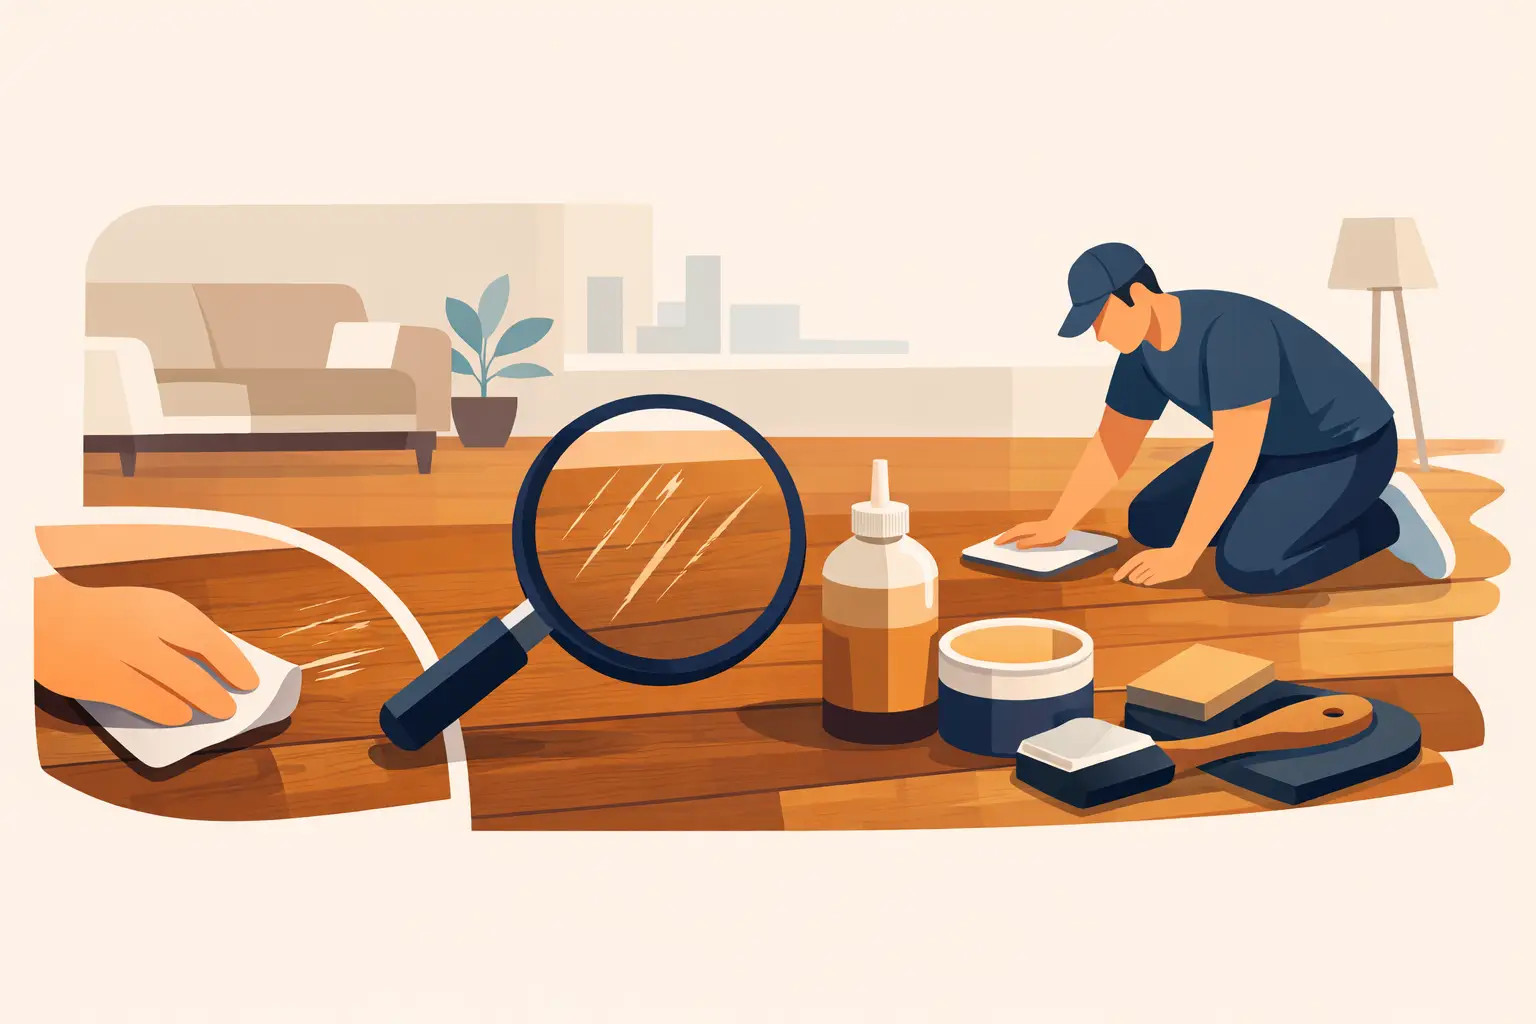
First, Identify the Depth of the Scratch
Begin by cleaning the area with a hardwood-floor cleaner and a clean microfiber cloth. Dirt and residue can resemble scratches, particularly on satin and matte finishes. If the mark disappears after cleaning, the finish itself may be undamaged.
A light scratch affects only the clear finish. It may appear white or pale when viewed from an angle without exposing the wood underneath. A few isolated marks may be candidates for minor cosmetic touch-up, while widespread surface scratching may indicate that the floor is ready for a professional screen and recoat.
A deeper scratch penetrates the finish and may reach the stain or bare wood. The line may appear lighter than the surrounding flooring because exposed wood is showing, or darker because dirt and moisture have entered the damaged area. Once a scratch reaches the wood itself, simply applying polish or another coat of finish over it is not a proper repair.
Gouges, pet damage and scratches with raised or splintered edges require additional attention. Aggressively sanding one small area can create a depression in the board, while an improperly matched stain can leave a repair that is more noticeable than the original scratch.
How to Repair Scratched Hardwood Floors by Damage Type
Light Scratches in the Finish
For a small number of shallow scratches, begin by vacuuming with a hardwood-safe floor attachment and cleaning the area with a product appropriate for the existing finish. Avoid soaking the flooring. Excess water can enter the joints between boards and contribute to staining, finish failure or moisture-related movement.
Minor cosmetic scratches can sometimes be disguised with a color-matched touch-up product intended for hardwood flooring. Any product should be tested in an inconspicuous area first and used sparingly. The objective is to reduce the contrast of the scratch without leaving residue across the surrounding finish.
Avoid furniture polish, oil soap, silicone-based products and products that leave wax or oily residues on a polyurethane-finished floor. They may temporarily change the appearance of scratches, but contamination left on the surface can create adhesion problems when the floor is eventually recoated or refinished.
When light scratching extends throughout traffic areas such as hallways, kitchens or living rooms, treating individual scratches may produce an inconsistent appearance. If the existing finish is still sound, a professional screen and recoat may be a better solution.
During a screen and recoat, the existing finish is mechanically abraded to prepare it for a new compatible coat of finish. Unlike complete sanding and refinishing, the process is intended to work with the existing finish rather than remove it down to bare wood. It can restore protection and produce a more uniform sheen when the underlying floor and finish are suitable candidates.
A screen and recoat cannot correct deep scratches that have penetrated into the wood, severe discoloration, exposed bare wood, peeling finish or significant contamination. Those conditions may require complete sanding and refinishing.
Scratches That Reach Bare Wood
Once a scratch has penetrated the finish and stain, repairing only that individual area becomes more difficult. A color-matched touch-up product can sometimes make a narrow scratch considerably less noticeable, but matching an existing hardwood floor is rarely as simple as selecting a stain with the same name.
Wood species, age, sunlight exposure, the original stain, finish type and natural variation between boards all affect color. Existing finishes also change appearance as they age. For that reason, a localized repair can look acceptable from one direction but remain visible when sunlight or artificial light reflects across the floor.
Deeper gouges may require repair of the damaged wood itself. Depending on their severity, location and the construction of the floor, the appropriate solution may involve a localized repair, board replacement or sanding and refinishing of a larger continuous area.
Trying to aggressively sand a single scratch or gouge until it disappears can remove too much material from one location and create a low spot that remains visible after the floor is finished.
Deep Gouges, Widespread Scratches and Black Marks
Deep or numerous scratches often point toward a floor-wide solution. Sanding and refinishing remove the existing finish and a controlled amount of wood from the surface, allowing scratches, worn areas and many forms of discoloration to be addressed consistently. On a solid hardwood floor with sufficient remaining wear layer, refinishing can restore flooring that initially appears to be beyond saving.
Dark marks deserve additional investigation. Some are simply surface contamination, but black staining can also result from moisture reacting with tannins in the wood, particularly in oak. If water has entered the flooring, there may also be cupping, loose boards, finish damage or moisture beneath the hardwood that needs to be addressed before refinishing.
Sanding does not correct an active moisture problem. The source of the moisture should be identified and corrected before determining whether the damaged floor can be repaired or refinished.
Individual board replacement may be appropriate for severe pet stains, broken boards, termite damage, deep water staining or physical damage that extends too far into the wood to sand safely. When replacement boards are required, matching the species, grade, dimensions and appearance of the existing flooring is an important part of producing a convincing repair.
Check Whether Your Floor Can Be Sanded
Solid hardwood flooring can often be refinished multiple times during its life, but there is no universal number of times every hardwood floor can safely be sanded. The remaining wood above the tongue-and-groove joint, previous sanding history, board condition and depth of the damage all matter.
Engineered hardwood requires considerably more caution. Engineered flooring has a real hardwood wear layer over a layered core, but the thickness of that wear layer varies dramatically between products. Some engineered floors have enough usable hardwood to be professionally sanded and refinished, while others do not.
Once sanding penetrates through the hardwood wear layer into the underlying core, the damage cannot be corrected by additional refinishing. Determining the available wear layer is therefore essential before sanding an engineered floor.
This is also one of the reasons rental floor sanders can become expensive very quickly in inexperienced hands. Stop marks, waves, uneven edging and excessive material removal can permanently change the floor. Proper sanding requires progressively removing the old finish and damage while keeping the flooring flat and preserving as much usable wood as possible.
Choose the Right Finish for the Way You Live
Once a scratched floor has been properly repaired or refinished, the new finish becomes its primary protection against everyday wear. Both water-based and oil-based hardwood floor finishes can provide durable protection when the floor is prepared and the finish is applied correctly, but they produce different appearances and have different working and curing characteristics.
Modern water-based finishes generally dry faster and tend to preserve a clearer, more natural appearance in lighter woods. Traditional oil-based polyurethane develops a warmer amber tone as it ages and generally requires more time between coats and before normal use.
Sheen also affects how everyday wear appears. Higher-gloss floors reflect more light and tend to make scratches, dust and surface imperfections easier to see. Satin and lower-sheen finishes are generally more forgiving in heavily used rooms. Sheen does not make the wood immune to damage, however. Grit, furniture legs, pet nails and dragging heavy objects can scratch virtually any hardwood floor finish.
For a home being prepared for sale, refinishing a visibly worn floor can also produce a much more consistent appearance than attempting dozens of isolated touch-ups. A continuous hardwood surface is one of the first things buyers notice when entering a room, particularly when the original flooring is part of the character of an older Bay Area home.
Prevent the Next Round of Scratches
Once the floor has been repaired, preventing new scratches is relatively simple. Use felt pads under chairs, tables and movable furniture, and replace the pads when they become worn or collect grit. Use quality mats at exterior entrances to reduce the amount of sand and debris tracked onto the flooring, and lift furniture rather than sliding it across the floor.
Regular dry cleaning is particularly important because sand and fine grit act like abrasive material beneath shoes and furniture. Vacuum frequently using a hardwood-safe cleaning method and use only the amount of moisture necessary when damp cleaning.
A scratched hardwood floor is not automatically a floor that needs replacing. The important first step is determining whether the damage is limited to the finish, extends into the wood or is widespread enough to justify refinishing the entire area. Minor scratches may require little more than cosmetic attention, while extensive scratching, deep gouges or moisture-related damage may call for repair and complete refinishing.
National Floors specializes in hardwood floor repair, sanding and refinishing throughout the Bay Area. When scratches have progressed beyond normal surface wear, the floor can be evaluated to determine whether a localized repair, screen and recoat, board replacement or complete refinishing will produce the best long-term result.
```
